Egg Hatching
When a cockatiel egg is ready to hatch the chick undergoes different chemical changes within the body due to different conditions that occur inside the egg. Below is a description of the hatching process and a series of pictures plus a video I was lucky enough to get of eggs hatching.
Fertilised Eggs
Female cockatiels are capable of laying eggs as early as six months old, although it’s better to wait until they are around 18 months old before breeding. A female cockatiel may lay eggs whether or not she has mated with a male, but fertilized eggs (those that can hatch) require the female to mate with a male first.
Cockatiels typically lay 4 to 6 eggs per clutch. Eggs are laid at 2 day intervals, usually one egg every second day, over several days. The total time for the female to lay a full clutch of eggs can take a week or more.
Egg-Laying Frequency
Female cockatiels are capable of laying multiple clutches of eggs in a year, especially if they are in a condition to breed (i.e., proper diet, enough daylight). Cockatiels can be seasonally influenced by light (longer daylight hours in spring and summer), which triggers hormonal changes and encourages egg production.
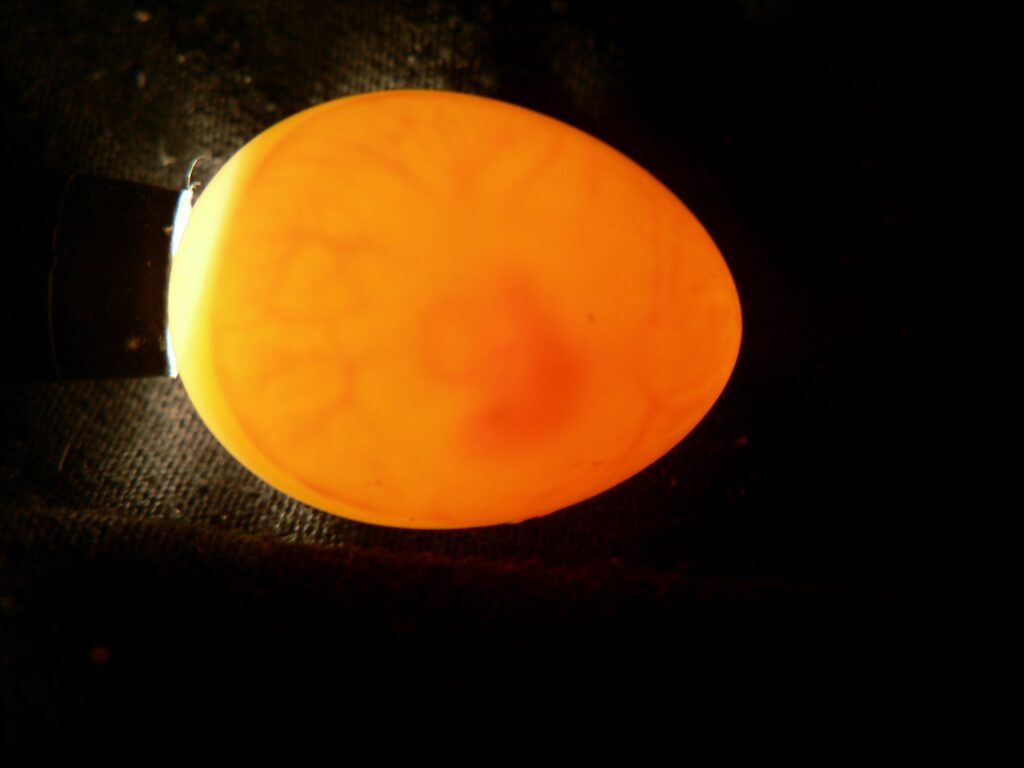
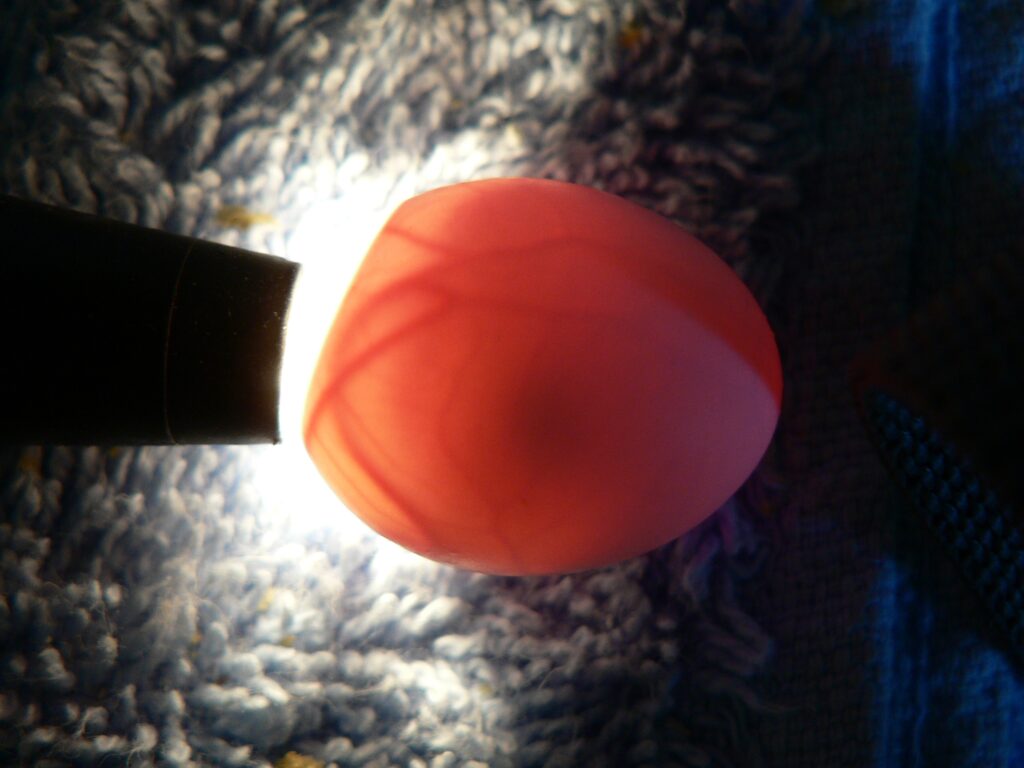
Egg candling is a non-invasive process used to check the development of eggs, particularly to see whether they are fertilized and how they are progressing. By shining a bright light through an egg (often in a dark room), you can observe the embryo inside and determine the fertility and development of the egg. About 7-10 days after the female begins incubating her eggs, candling can show early signs of development, such as veins and a developing embryo.
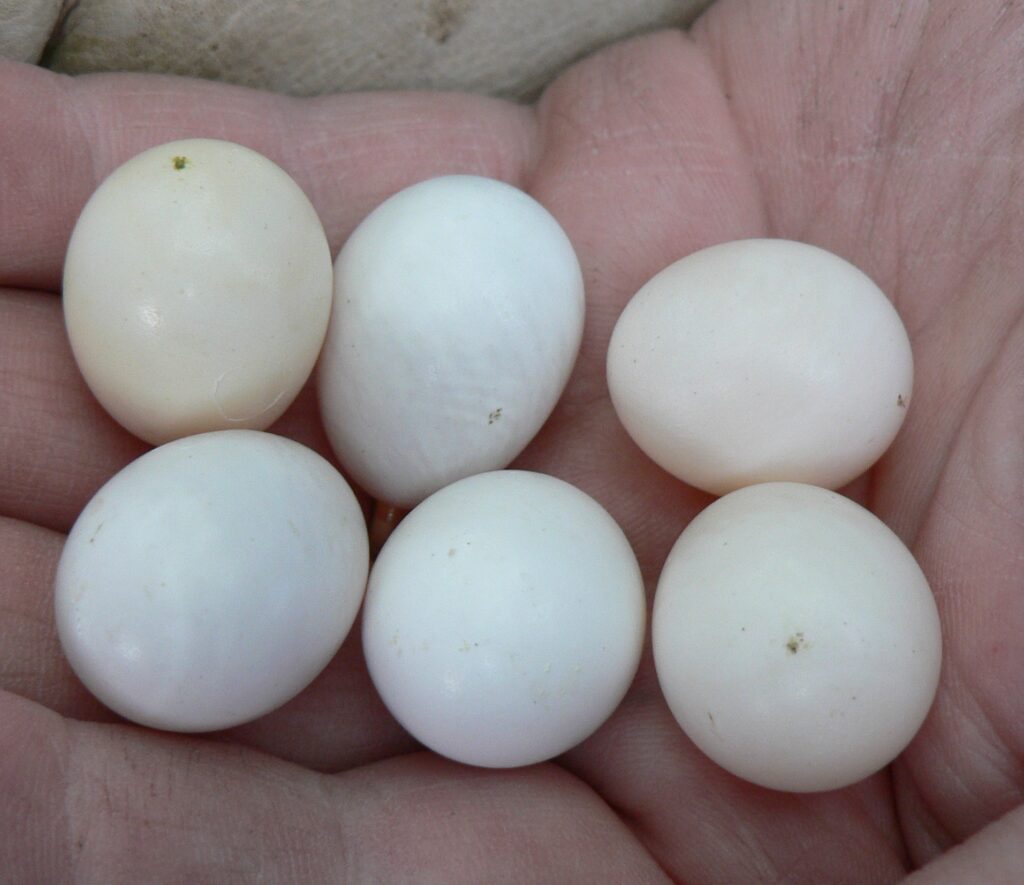
I have noticed the eggs seem to change colour if they are fertile. About a week after laying the eggs will turn a more bright white rather than the creamy white they are when laid. In the picture below you can see the difference in colour. The egg top left would appear to either be infertile or the last egg laid so it hasnt had time to change colour.
Egg Hatching Process
Egg hatching normally begins approximately 16 – 21 days after the initial incubation by the parents commences. During this incubation period the chick has grown to look like the chick we recognise and through that growth has continually used resources within the egg and also released waste products. The egg has lost weight compared to the weight when it was laid due to loss of water through the membrane and also due to the chick metabolising fats from the yolk. The chick also absorbs calcium from the inner lining of the shell making it thinner and lighter in weight. Just before it hatches the chick will also draw up the remaining yolk sac into its abdomen and orally take in any fluid that remains inside the shell. All these factors can mean a reduction of around 10% in the weight of the egg over the total incubation period.
Just prior to hatching the air sac in the larger rounded end of the egg will appear enlarged and occupy 20 – 30% of the volume of the egg. The tooth like prong on the end of the beak that the chick has developed to assist in hatching pierces the air sac and causes this enlargement and the chick takes its first breath of air. This process of the air sac becoming bigger is called the “draw down” process and can be seen when candling. Because the inside of the egg is still not open to the outside air the chick causes an increase in the carbon dioxide level within the air sac as it breathes. The rise in CO2 causes muscles to contract in the abdomen and thus the yolk sac gets drawn into the body. This rise in carbon dioxide also causes twitching or contracting of the muscle at the back of the neck that is enlarged at this stage to help with the pipping process. This contracting causes the tooth like prong or egg-tooth to pierce the inner shell membrane and create what we see as the first pip in the shell.
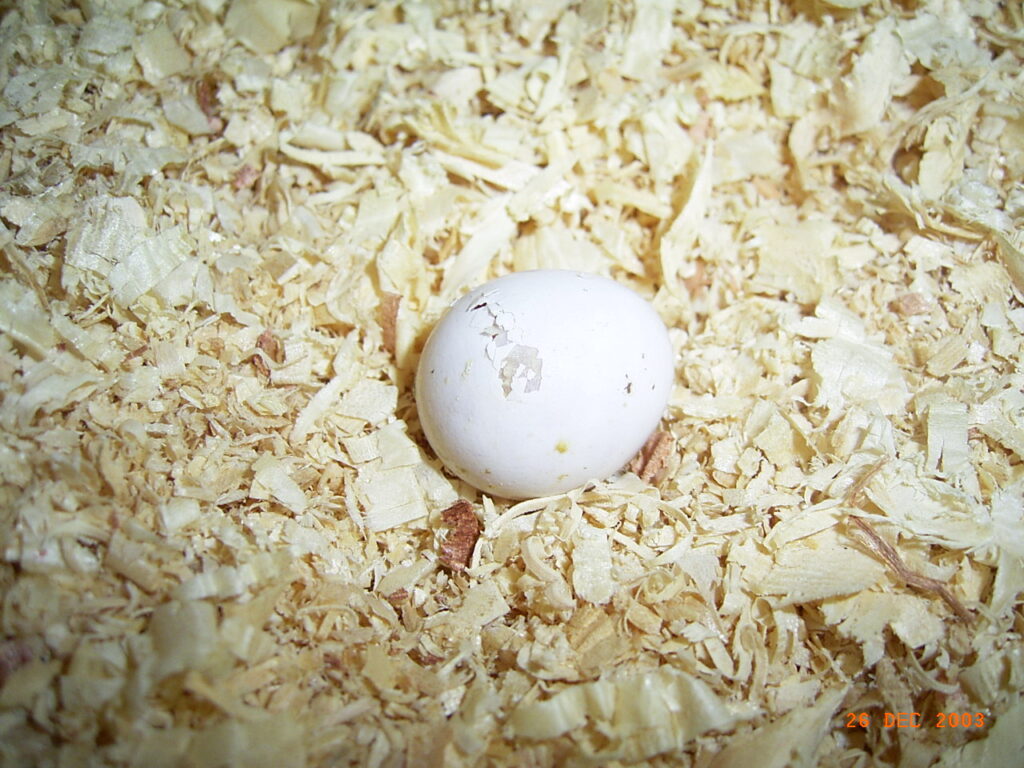
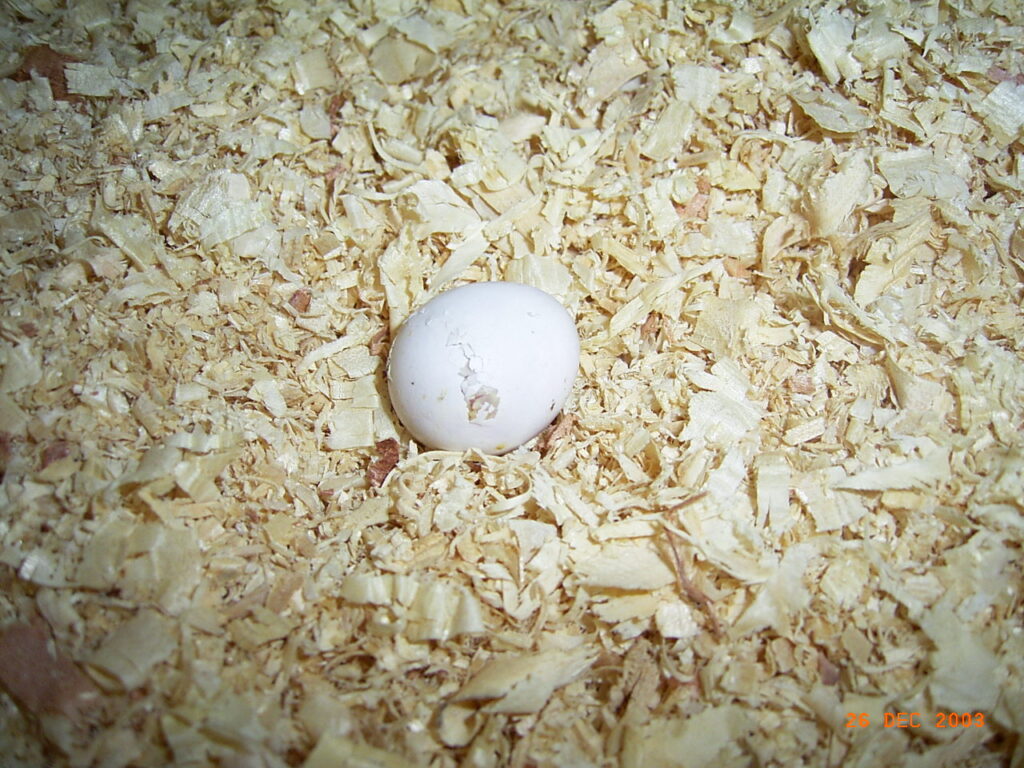
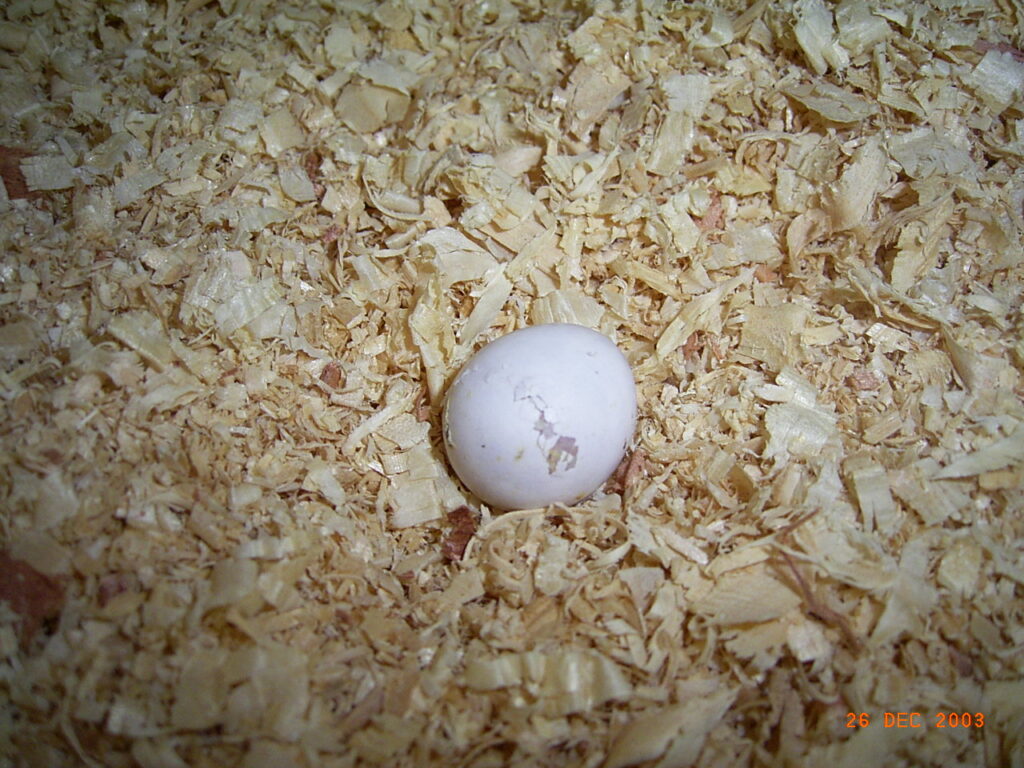
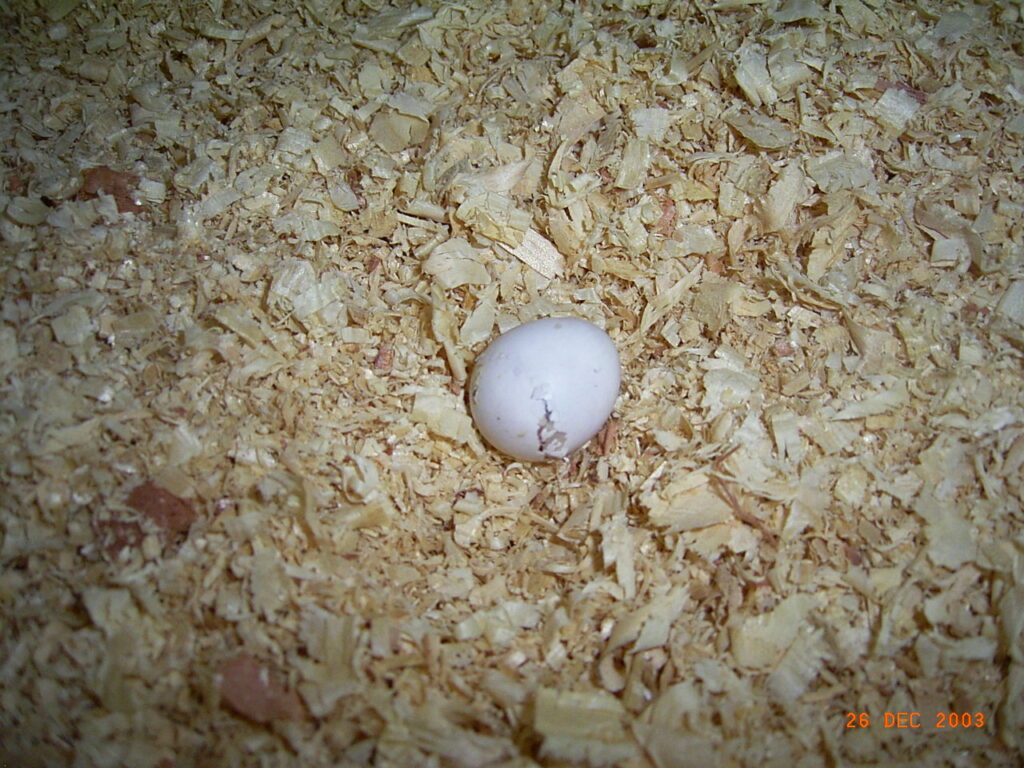
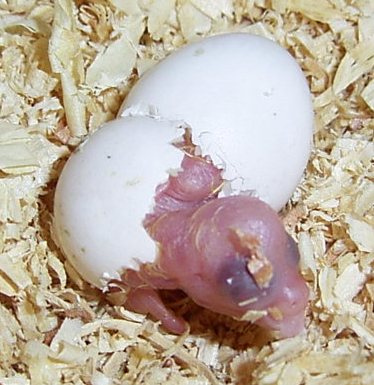
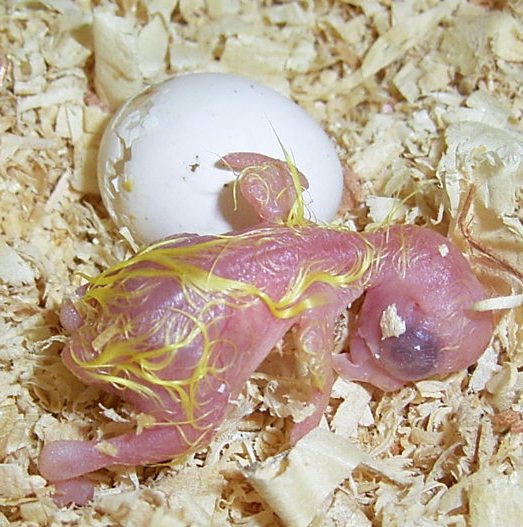
The contracting neck muscles makes the head move in a jerking motion. Along with causing the egg-tooth to break through the shell it also causes the chick to rotate with in the shell. This creates a line of pip marks around the end of the shell and gives almost like a separate top to the egg that the chick can then push off. The moisture retained within the shell membrane is used as a lubricant to allow the chick to rotate and eventually break free of the shell.
This complete process from the initial draw down of the air sac to hatching normally takes from 24 – 48 hours. Anything longer than this usually means there is a problem and an assist hatch may be necessary. If everything appears normal then it is best not to intervene until it becomes absolutely necessary. I will cover the subject of assist hatches and hatching problems in another article.
Egg Hatching Pictures
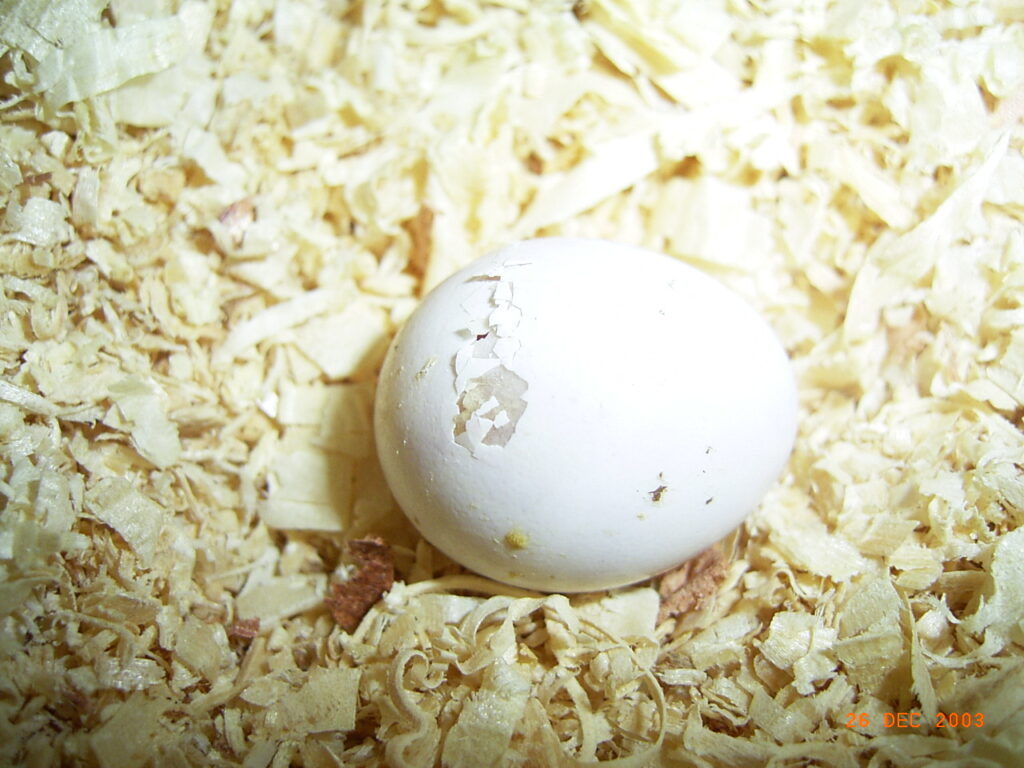
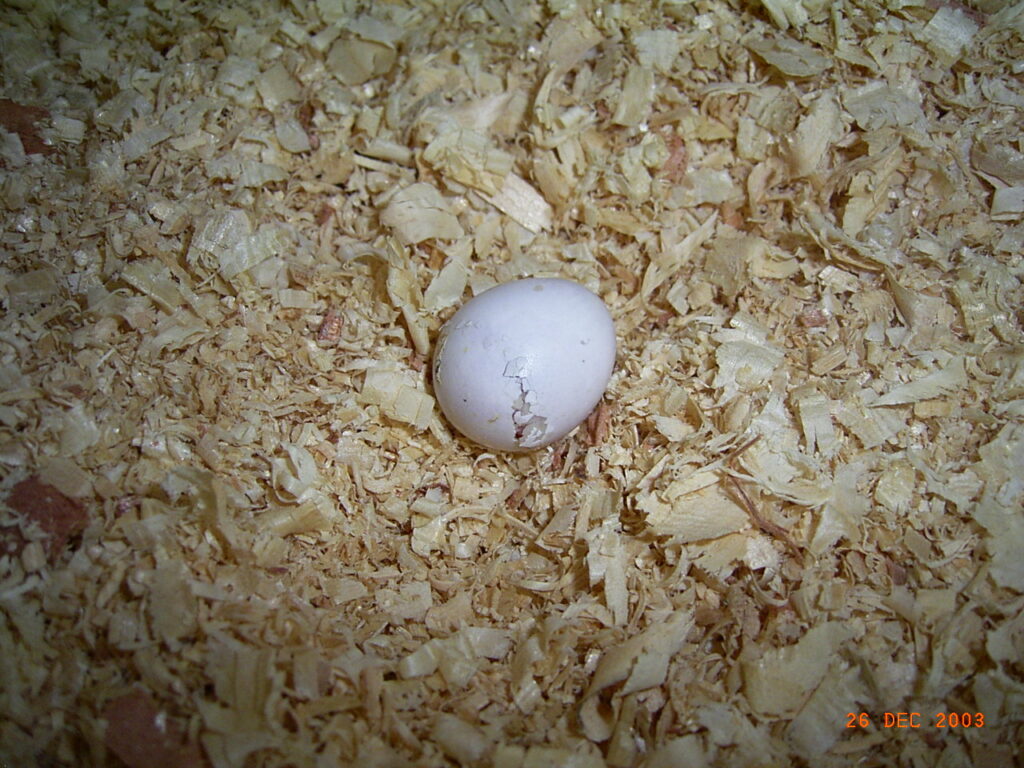
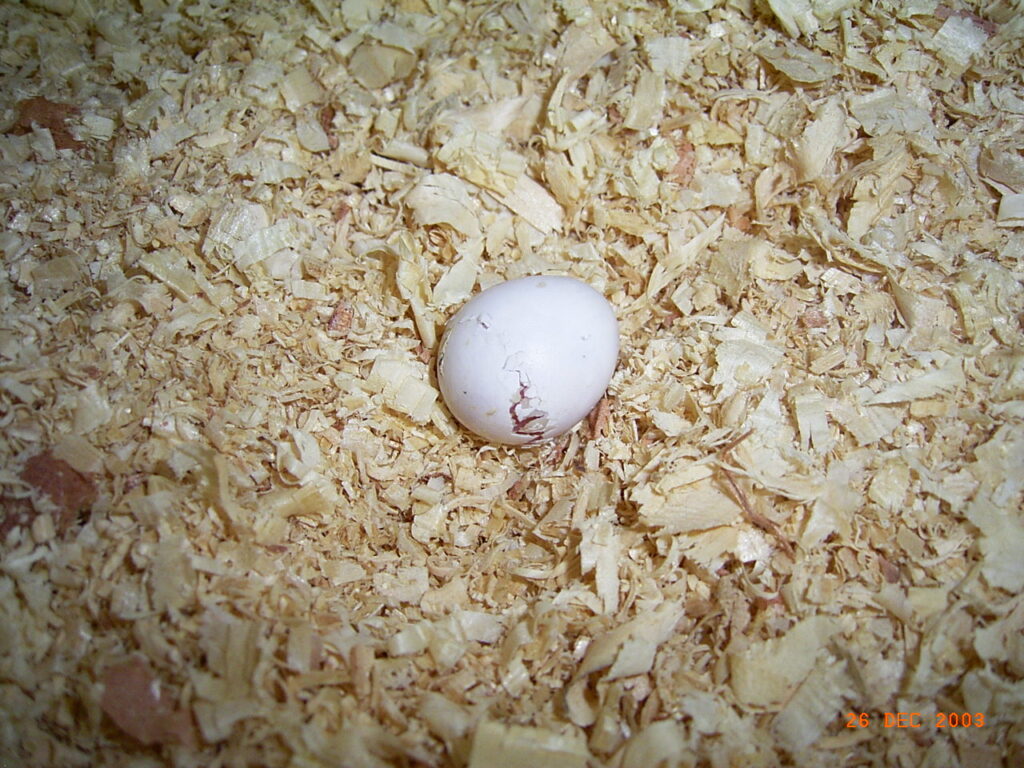
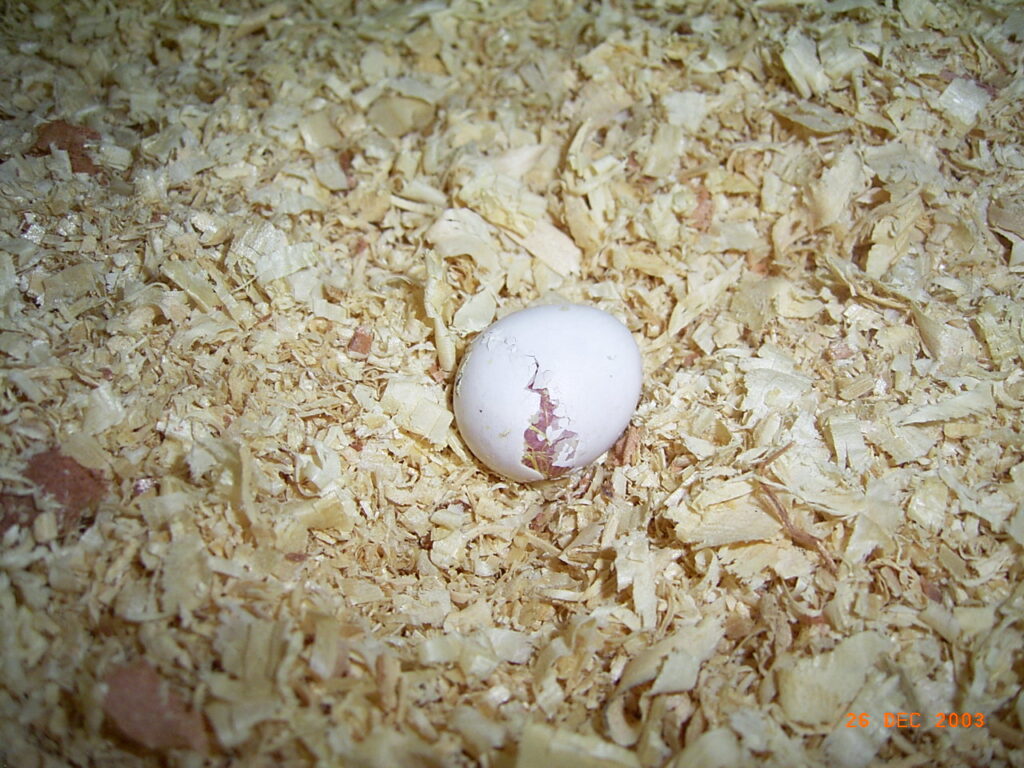
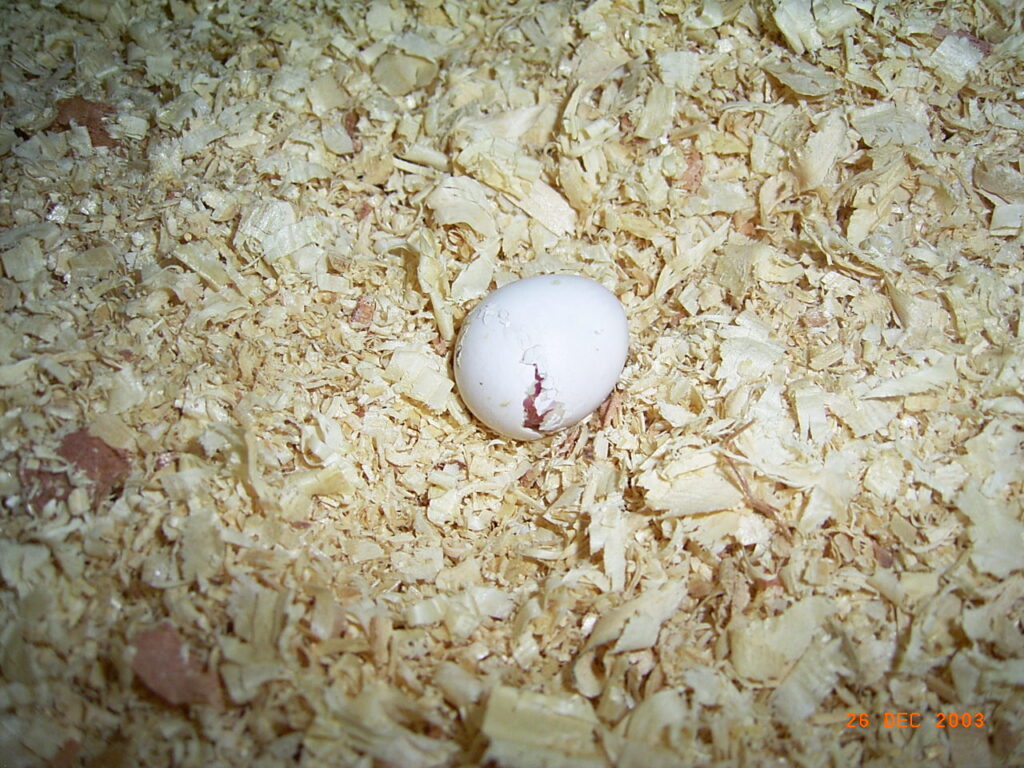
Here is a series of pictures I took a while ago of a chick in the process of hatching. From the first picture to the last took approximately 15 minutes. During the final stages the gap in the shell would open and then close as the baby pushed and then rested.
Egg Hatching Video
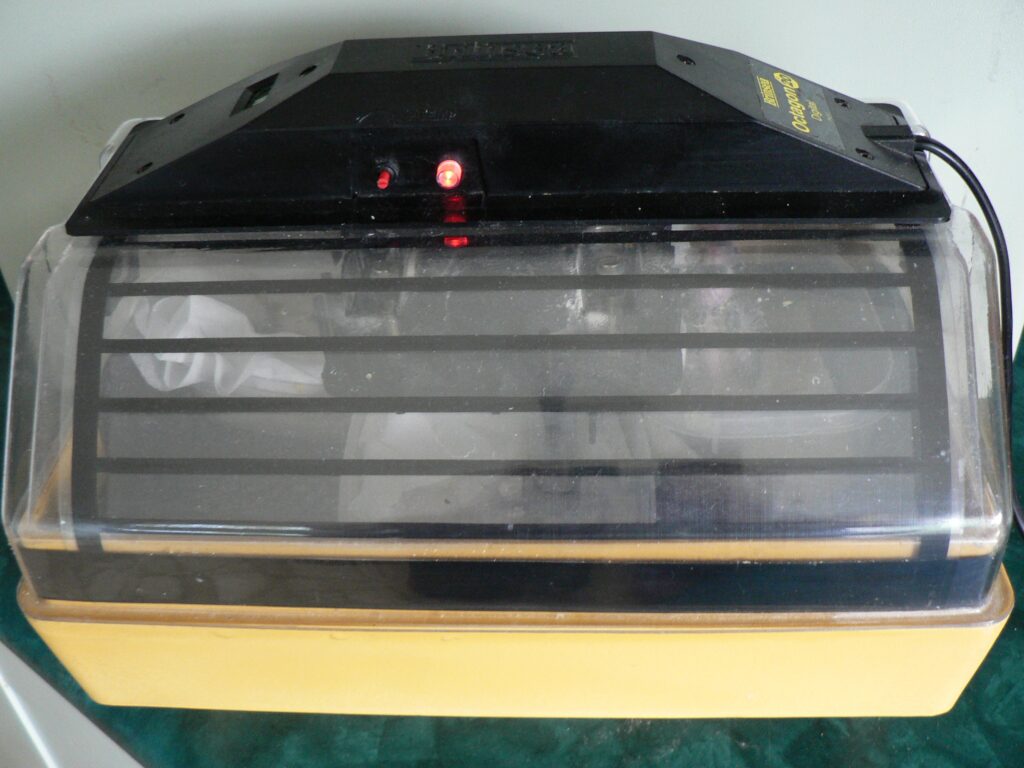
Here is a video of a chick in the process of hatching. You can hear the sound of the chick chirping as it pecks its way out. The egg was raised in this incubator and once hatched was immediately transferred into a small container within the incubator where it spent the first few days of life.
Incubators and Brooders
Incubators for Cockatiels
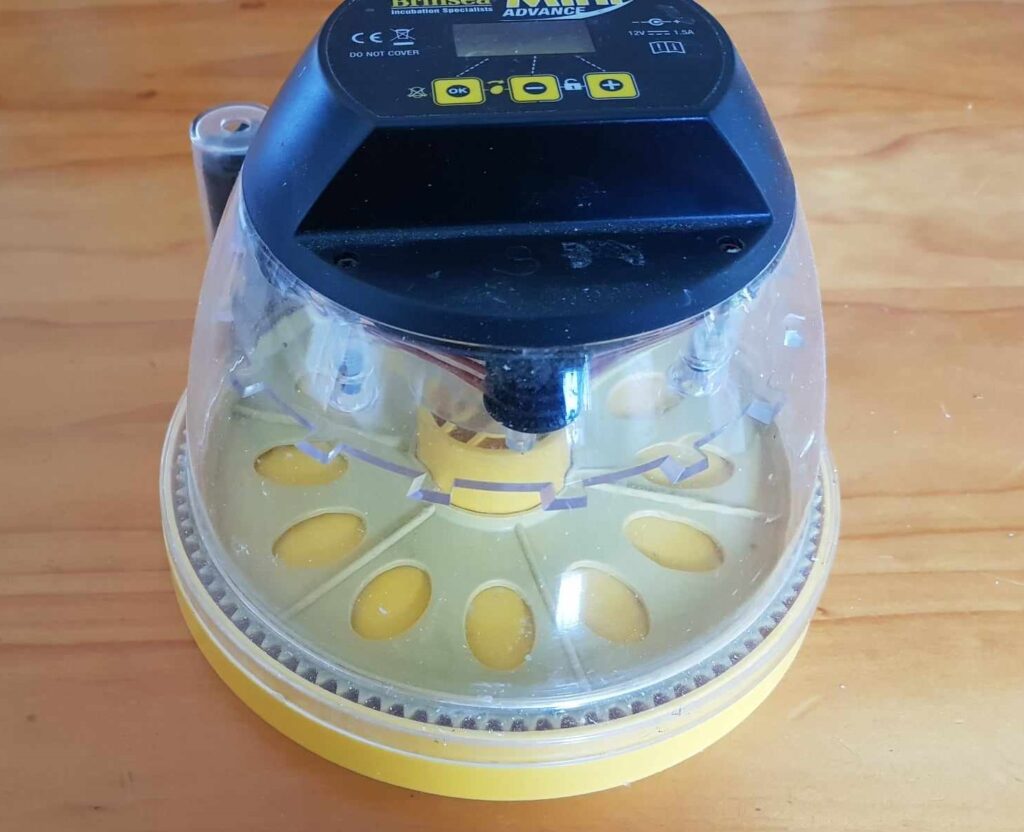
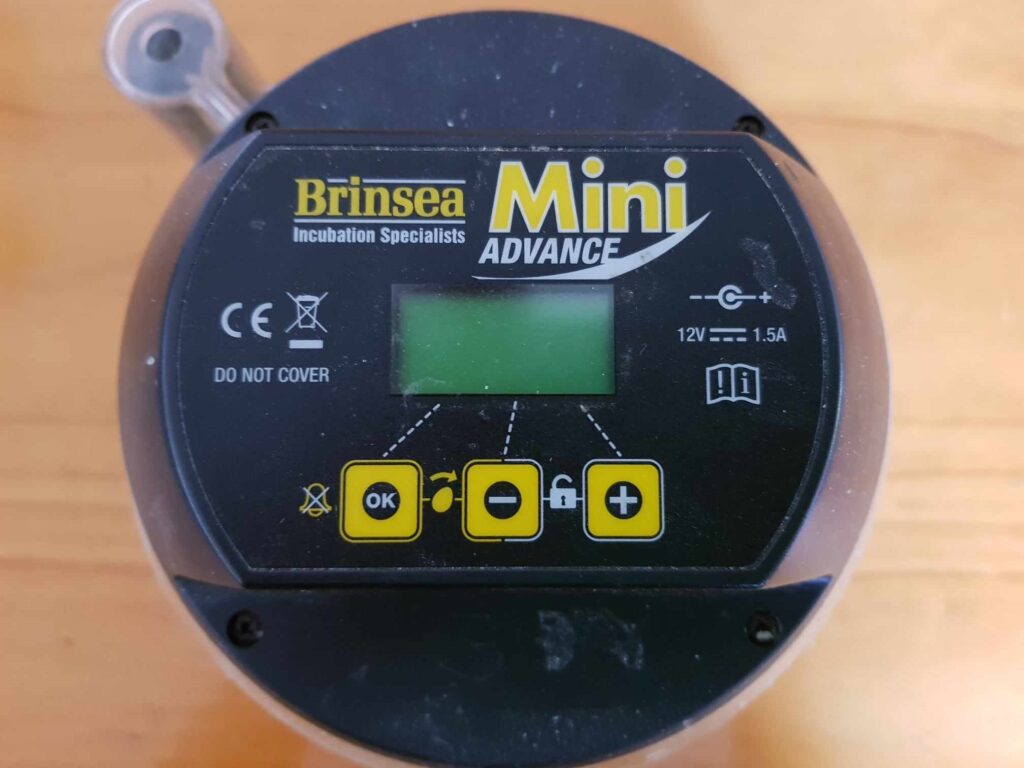
An incubator is a device used to artificially incubate eggs when the parents are unable or unwilling to do so, or when breeders want to ensure the eggs are cared for in a controlled environment. Incubators can be particularly useful in situations where you need to monitor egg development closely or if the mother is not sitting on the eggs properly.
Key Features of an Incubator:
- Temperature control: Incubators maintain a steady temperature, which is crucial for egg development. For cockatiels, the ideal incubation temperature is between 99°F to 101°F (37.2°C to 38.3°C).
- Humidity control: Humidity levels should be maintained at 50-55% for the majority of incubation, and it should increase to about 65-70% during the final few days before hatching to help soften the eggshells.
- Air circulation: Proper air circulation ensures that the embryos receive enough oxygen and don’t suffocate.
- Turning: Eggs need to be turned regularly (about 3-5 times per day) to prevent the embryo from sticking to the eggshell. Some incubators have automatic egg turners to make this easier.
- Viewing windows: Many incubators come with transparent windows so you can easily monitor the eggs without opening the unit and disrupting the internal environment.
When to Use an Incubator:
- Artificial incubation: When the cockatiel parents are not incubating the eggs properly (e.g., if the female is not sitting on them, or the parents are inexperienced).
- To separate eggs from the parents: Sometimes breeders prefer to incubate eggs separately to prevent the parents from damaging or abandoning them.
- Handling problems like egg binding: If a female cockatiel is unable to lay or incubate eggs naturally, an incubator can help in keeping the eggs viable until they hatch.
Choosing the Right Incubator for Cockatiels:
- Size: Choose an incubator that can accommodate the size of cockatiel eggs (small and round).
- Egg-turning mechanism: Some incubators come with automatic turners, while others require you to manually turn the eggs.
- Humidity control: Ensure that the incubator has adjustable humidity settings, as maintaining the right level of humidity is crucial for hatching success.
- Reliability: Look for a well-reviewed, reliable incubator with good temperature regulation, as any temperature fluctuation can harm the developing embryos.
Brooders for Cockatiels
Brooders are used after hatching, to keep the chicks warm and provide them with the proper environment for healthy growth. A brooder should provide heat, controlled humidity, and a safe space for chicks to grow until they are old enough to upgrade to a cage.
Key Features to Look for:
- Heat Source: Cockatiel chicks need to be kept at a warm temperature, typically between 95-100°F (35-37.8°C) for the first week, gradually decreasing to around 80°F (26.6°C) as they mature.
- Humidity: Maintain a relative humidity level of about 50-60% for chicks, especially to avoid dehydration.
- Safety: The brooder should be free of sharp objects or materials that the chicks can injure themselves on. Also ensure that heat sources are securely installed and the chicks cannot get burned.
- Ventilation: Adequate ventilation is essential to prevent heat buildup or stagnant air.
DIY or Homemade Option
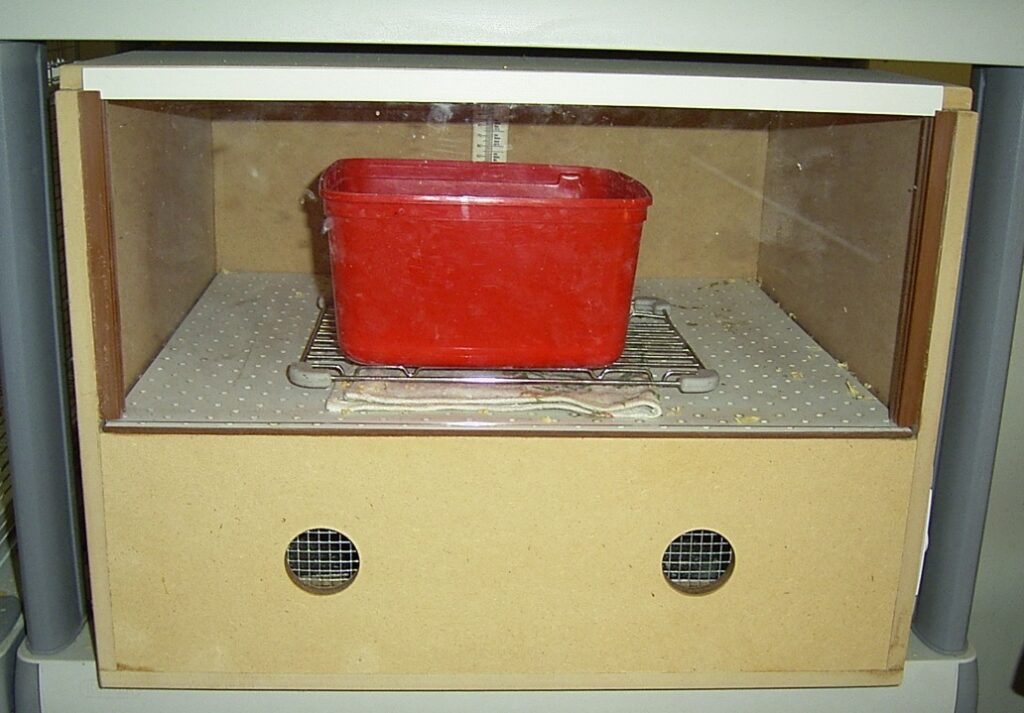
If you’re on a budget, there are DIY options for both incubators and brooders. For example this is a picture of our homemade brooder.
A small, heated box with a heat lamp or ceramic heat emitter can create an effective brooder. The space should be large enough for the chicks to move around, and temperature should be carefully monitored. In ours there are 2 lightbulbs fitted in the lower level with a dimmer switch to control heat emitted.
Tips for Using Incubators and Brooders:
- Monitor Temperature and Humidity: Use reliable thermometers and hygrometers to constantly monitor the conditions in both incubators and brooders.
- Avoid Overheating: Too much heat can harm the eggs or chicks. Ensure there’s proper air circulation.
- Cleaning: Make sure the incubator or brooder is clean and disinfected to avoid the spread of bacteria.
- Manual Intervention: Regularly check on the eggs or chicks to ensure conditions are ideal.
Using the right equipment for incubating and brooding can make all the difference in raising healthy cockatiels. Choose models that are specifically designed for the needs of small birds, and carefully monitor conditions for the best results.
Reach Out To Us
Interested in adding a new feathered family member learning more? Reach out to us by clicking on the button below.